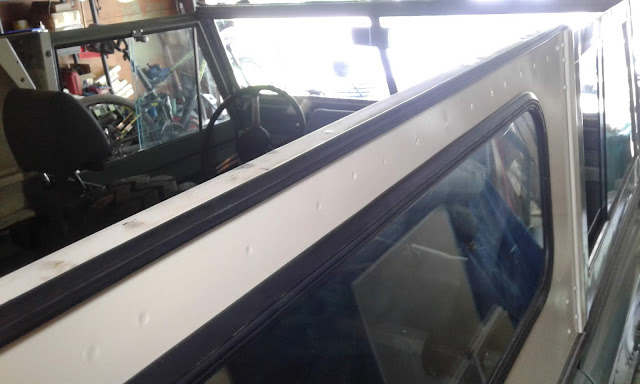
Simple to do, the hardest part being what to do with the roof once it was detached. In my case, it was suspended from the garage ceiling using the same straps that are now holding up the complete hardtop, now that summer is finally here.
Below, the channel in which the seal resides, seen from inside the hard top.
The replacement seal. The original appears to have been made of a spongy material, and glued in via the famous black glue. The new version just slots into the channel, but of course it can be glued if desired:
Side channel cleared out. The original seal came out in crumbly pieces:
Remains of the infamous black glue:
New seal inserted:
And job done. Length supplied is suitable for a 109/110, and so has to be trimmed. After this, just lowered the roof back onto the sides, re-attached everything, and then detached the hard top in its entirety and hauled it up to the garage ceiling.
And then out for the first top-off drive of the summer!


I discovered your blog and it's extrbaordinary. I am restoring a LR SIIa (Santana spanish version) and I have been the same problems as you. I have a question about the seals of the hard top bottom. I bought a seal (333490 ref.) but does not fit. Do you have some picture about?
ReplyDeleteThank you very much.
Josep
Barcelona-Catalonia-
Hi Joseph. Sorry, I only replaced the top seals. I would suggest you try the Land Rover Series 2 Club forum.
ReplyDelete